· Zen HuiFer · Tutorial · 4 min read
Interaction between Different Languages and MQTT Services
How to interact with MQTT services in Java, Golang, and Python

Through this chapter you will learn:
- Interaction between Java and MQTT services
- Interaction between Golang and MQTT services
- Interaction between Python and MQTT services
Java and MQTT
In Java projects, it is easy to integrate the MQTT client by using Maven as a dependency management tool. Here are the steps to add the MQTT client dependency in the pom file and create a basic MQTT client program.
Adding Maven Dependency
To add the Eclipse Paho MQTT client dependency in the pom.xml file, include the following code:
import org.eclipse.paho.client.mqttv3.MqttClient;
import org.eclipse.paho.client.mqttv3.MqttConnectOptions;
import org.eclipse.paho.client.mqttv3.MqttException;
import org.eclipse.paho.client.mqttv3.MqttMessage;

import java.nio.charset.StandardCharsets;

public class MqttTest {
    public static void main(String[] args) throws MqttException {
        String broker = "tcp://127.0.0.1:1883";
        String clientId = "demo_client";
        MqttClient client = new MqttClient(broker, clientId);
        MqttConnectOptions options = new MqttConnectOptions();
        options.setUserName("admin");
        options.setPassword("admin123".toCharArray());
        client.connect(options);
    }
}
Through the above program, an MQTT client will be obtained. Next, we will use this MQTT client to perform message sending and receiving exercises.
For message sending, the MqttMessage object needs to be used. Setting the payload attribute of this object can complete the assembly of the message to be sent. The specific program code is as follows.
client.setCallback(new MqttCallback() {
    public void messageArrived(String topic, MqttMessage message) throws Exception {
        System.out.println("topic: " + topic);
        System.out.println("qos: " + message.getQos());
        System.out.println("message content: " + new String(message.getPayload()));
    }

    public void connectionLost(Throwable cause) {
        System.out.println("connectionLost: " + cause.getMessage());
    }

    public void deliveryComplete(IMqttDeliveryToken token) {
        System.out.println("deliveryComplete: " + token.isComplete());
    }
});

client.subscribe("t/#");
In the above program, focus on the messageArrived function, which can be used to receive data sent by the MQTT client. Also, do not forget to write client.subscribe(“t/#”). Without this line of code, no subscription will be made. After starting the program, send a message through MQTTX, and the console output is as follows.
topic: t/2/b/c
qos: 0
message content: 测试数据
Golang and MQTT
To integrate MQTT communication functionality in a Go language project, you can use the eclipse/paho.mqtt.golang package. Here are the steps to install the package, create a basic MQTT client, and send and receive messages. Use the following Go command to install the MQTT interaction package:
package main

import (
    "fmt"
    mqtt "github.com/eclipse/paho.mqtt.golang"
)

var messagePubHandler mqtt.MessageHandler = func(client mqtt.Client, msg mqtt.Message) {
    fmt.Printf("Received message: %s from topic: %s\n", msg.Payload(), msg.Topic())
}

var connectHandler mqtt.OnConnectHandler = func(client mqtt.Client) {
    fmt.Println("Connected")
}

var connectLostHandler mqtt.ConnectionLostHandler = func(client mqtt.Client, err error) {
    fmt.Printf("Connect lost: %v", err)
}

func main() {
    var broker = "localhost"
    var port = 1883
    opts := mqtt.NewClientOptions()
    opts.AddBroker(fmt.Sprintf("tcp://%s:%d", broker, port))
    opts.SetClientID("go_mqtt_client")
    opts.SetUsername("admin")
    opts.SetPassword("admin123")
    opts.SetDefaultPublishHandler(messagePubHandler)
    opts.OnConnect = connectHandler
    opts.OnConnectionLost = connectLostHandler
    client := mqtt.NewClient(opts)
    if token := client.Connect(); token.Wait() && token.Error() != nil {
        panic(token.Error())
  }
}
In this program, the main focus is on the following:
- opts := mqtt.NewClientOptions() is used to create connection parameters such as setting account and password.
- opts.OnConnect can set the logic to be executed when the connection is established.
- opts.OnConnectionLost can set the handling logic when the connection is lost.
- opts.SetDefaultPublishHandler(messagePubHandler) is used to handle the logic after the message is received.
Below is the code for writing the message sending function.
func publish(client mqtt.Client) {
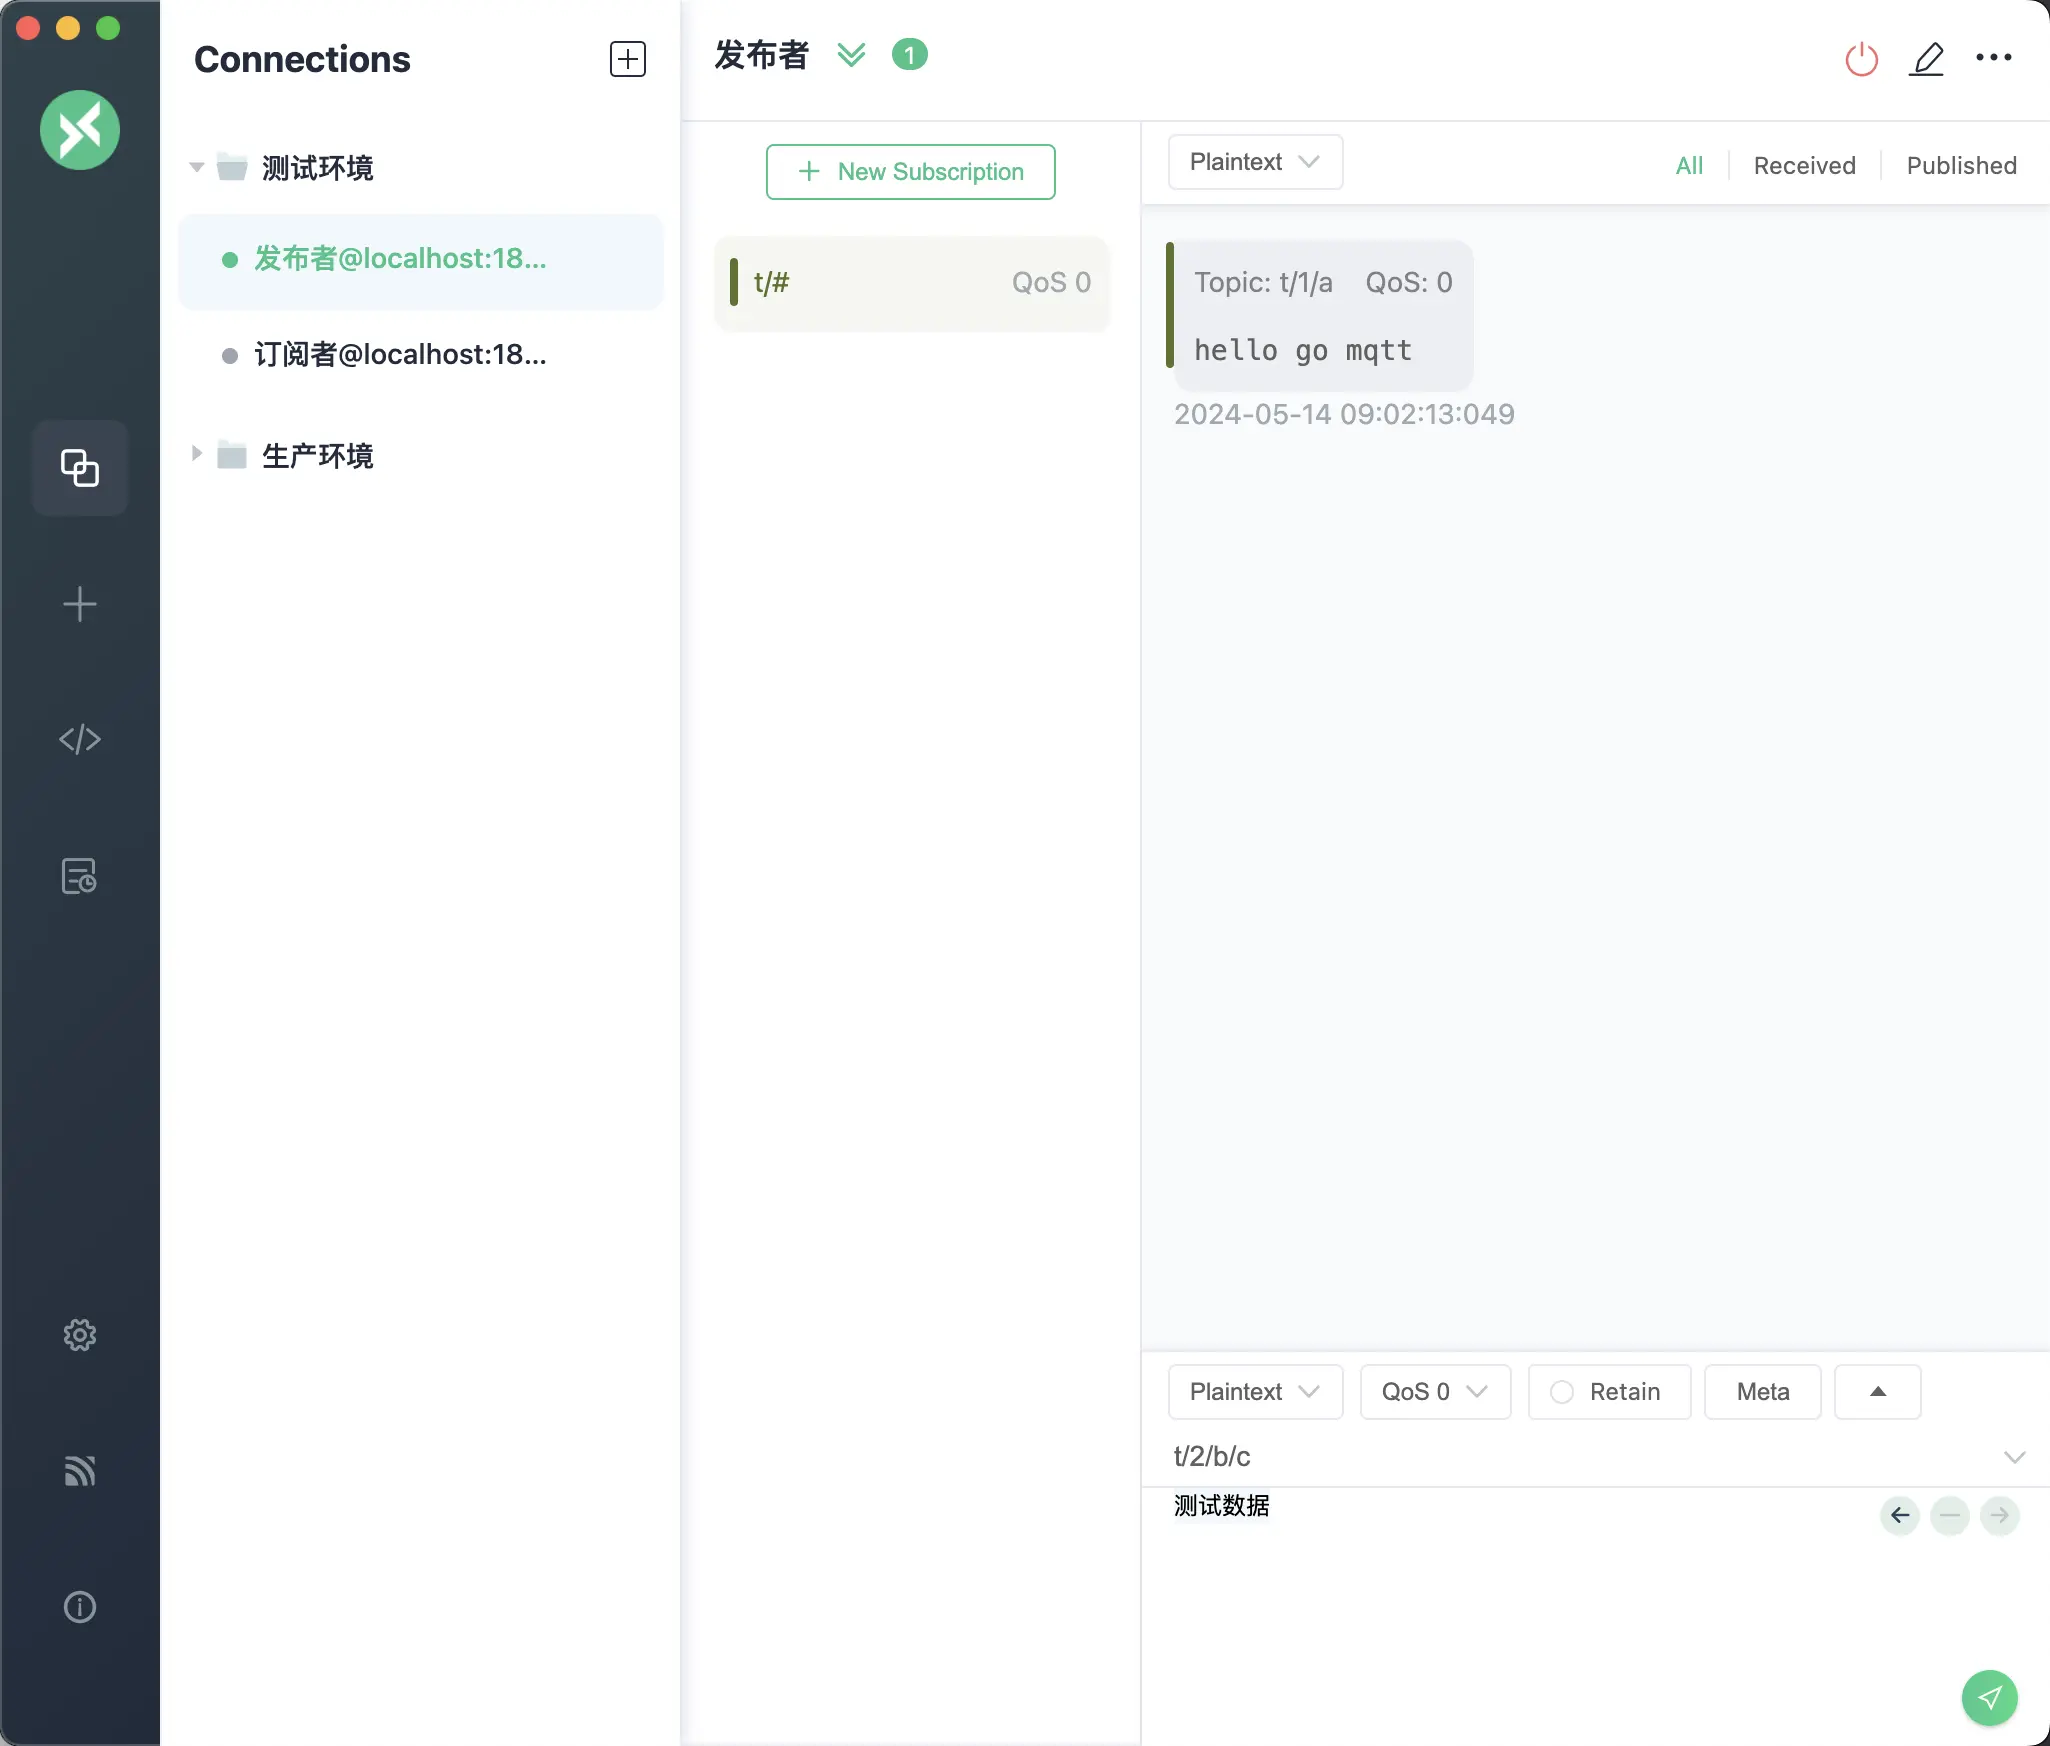
client.Publish("t/1/a", 0, false, "hello go mqtt")
}
After executing the above sending function, the data received by MQTTX is shown in the figure.
Next, write the program related to subscribing to the topic, the specific code is as follows.
Python and MQTT
Using MQTT (Message Queuing Telemetry Transport) for message transmission in Python is very efficient. Below are detailed steps and explanations on how to use the paho-mqtt library to create a basic MQTT client, including a complete example of publishing and subscribing to messages.
Install the paho-mqtt library via pip:
pip3 install -i https://pypi.doubanio.com/simple paho-mqtt
The following code shows how to create an MQTT client and connect to the MQTT Broker:
from paho.mqtt import client as mqtt_client


broker = 'localhost'
port = 1883
client_id = 'python-mqtt-client'


def connect_mqtt():
    def on_connect(client, userdata, flags, rc):
        if rc == 0:
            print("Connected to MQTT Broker!")
        else:
            print("Failed to connect, return code %d\n", rc)

    client = mqtt_client.Client(mqtt_client.CallbackAPIVersion.VERSION1,client_id)

    client.username_pw_set("admin", password="admin123")
    client.on_connect = on_connect
    client.connect(broker, port)
    return client
Next, write the simulated message push, the specific program code is as follows.
def publish(client):
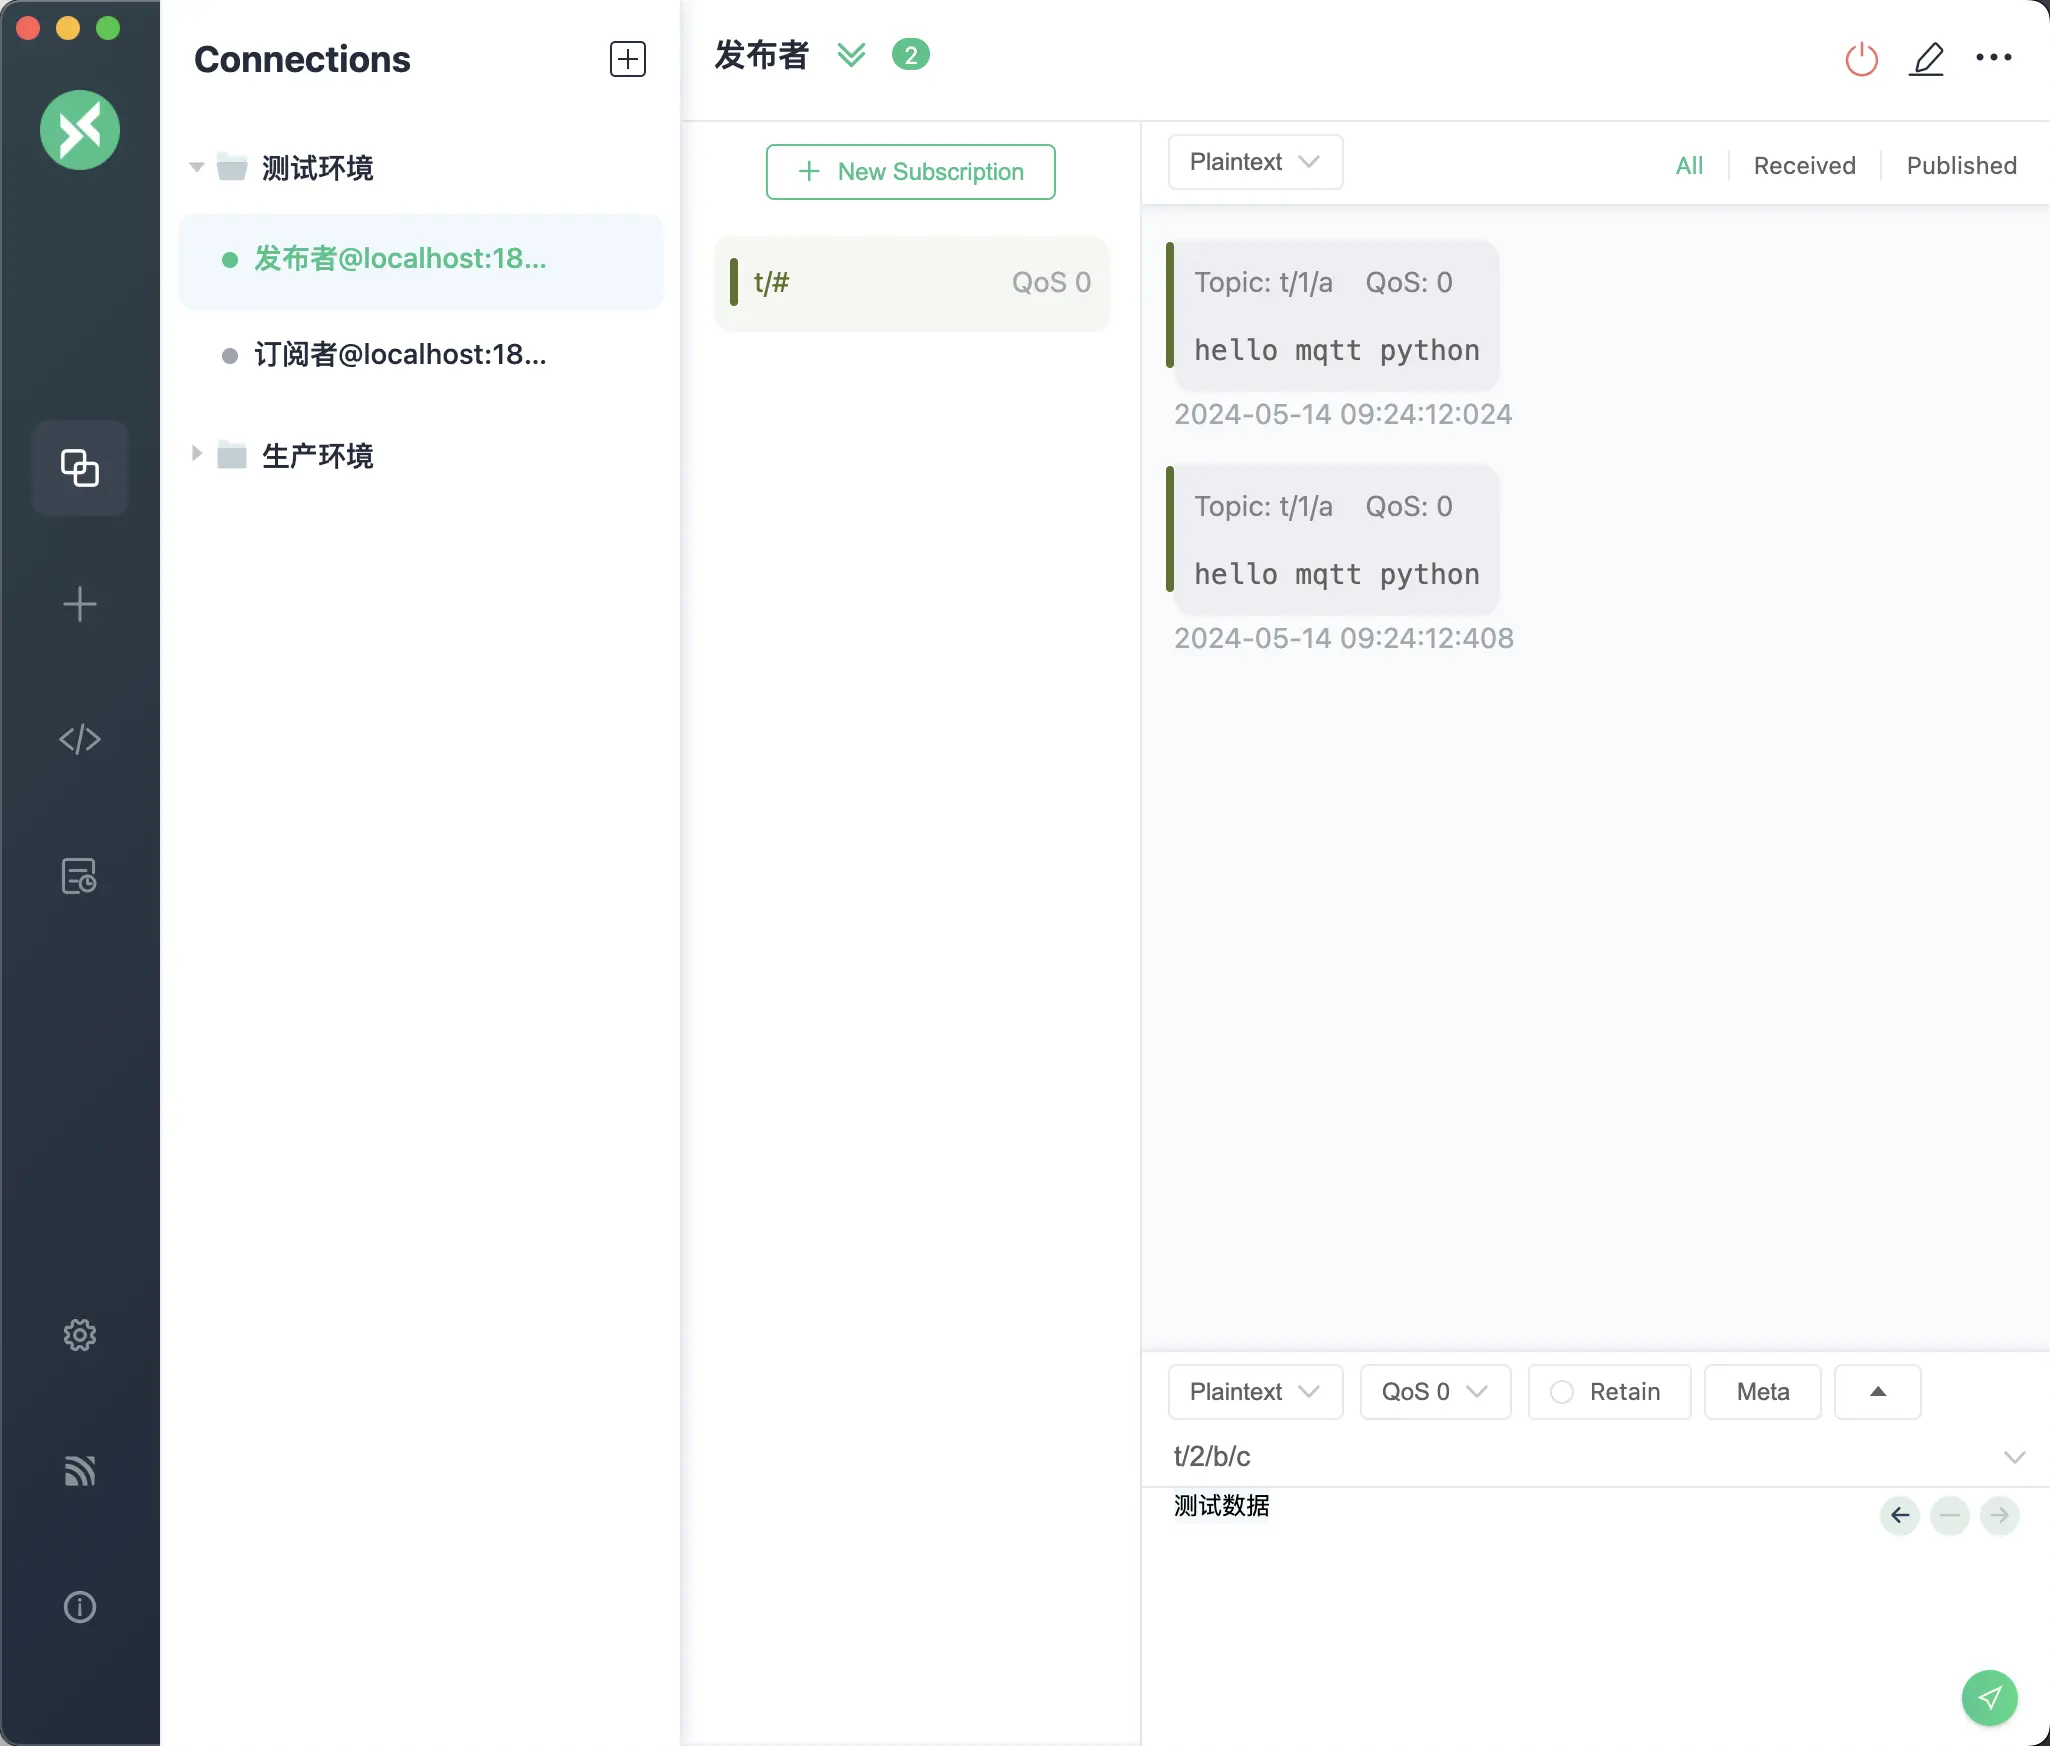
msg = "hello mqtt python"
topic= "t/1/a"
result = client.publish(topic, msg)
status = result[0]
if status == 0:
print(f"Send `{msg}` to topic `{topic}`")
else:
print(f"Failed to send message to topic {topic}")
def run():
client = connect_mqtt()
client.loop_start()
publish(client)
Execute the run method in the above program, and the final effect in MQTTX is shown in the figure.
Next, write the program related to subscribing to the topic, the specific code is as follows.
def subscribe(client: mqtt_client):
    def on_message(client, userdata, msg):
        print(f"Received `{msg.payload.decode()}` from `{msg.topic}` topic")

    client.subscribe("t/#")
    client.on_message = on_message

def run2():
    client = connect_mqtt()
    subscribe(client)
    client.loop_forever()
Execute the run2 method in the above program, use MQTTX to send test data to the topic t/2/b/c, at this time the Python program receives the data as follows.
Received `测试数据` from `t/2/b/c` topic